FreeBSD Virtual Data Centre with Potluck: DevOps & Infrastructure as Code - Part III
Content
This series is split in three parts:
- Part I - Overview and Basic Setup
- Part II - Setting Up Consul, Nomad & Traefik
- Part III - Testing the Environment with Nginx & Git
Nginx Example Service (via Traefik)
Overview
As written earlier, you can place the nginx job via the nomad dashboard.
When you start the job the first time, the image will according to the job description be automatically downloaded from Potluck to your compute host which - depending on your Internet connection - might take some time.
This image will then be cloned by the driver and started on the host. You can define various parameters, e.g. which hosts may be used by nomad for each job.
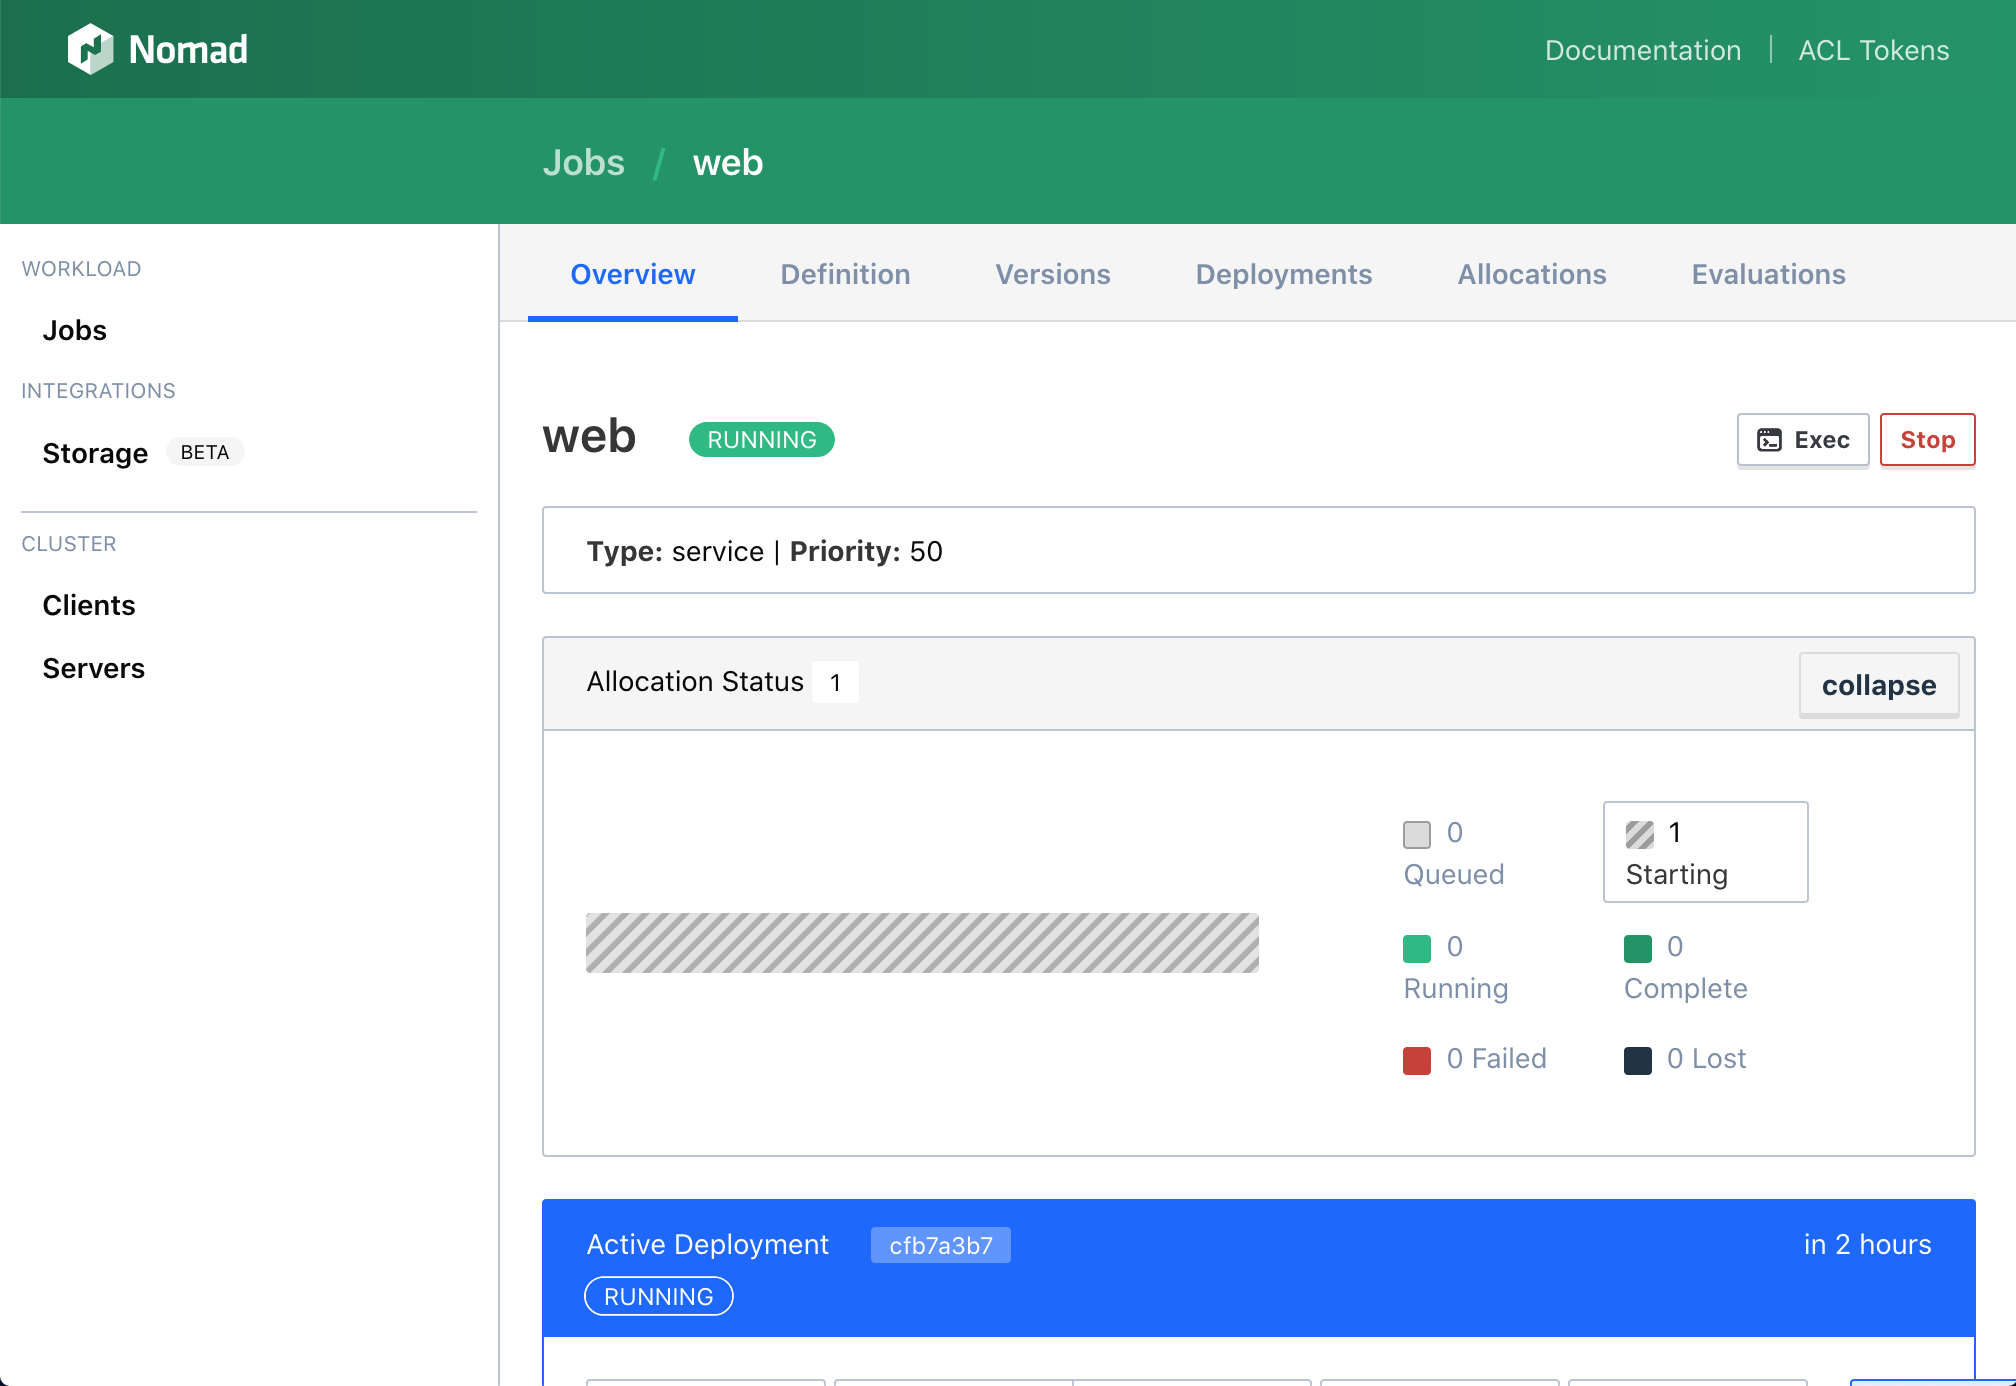
Since many services can be run on one host, nomad will assign a port to nginx which will very likely not be the standard port 80.
The nginx service will automatically be registered by nomad with consul as soon and as long as it is running.
traefik as reverse-proxy in turn will query consul to find out on which host and port nginx is running and provide the HTTP service to the user on a well-known address and port:
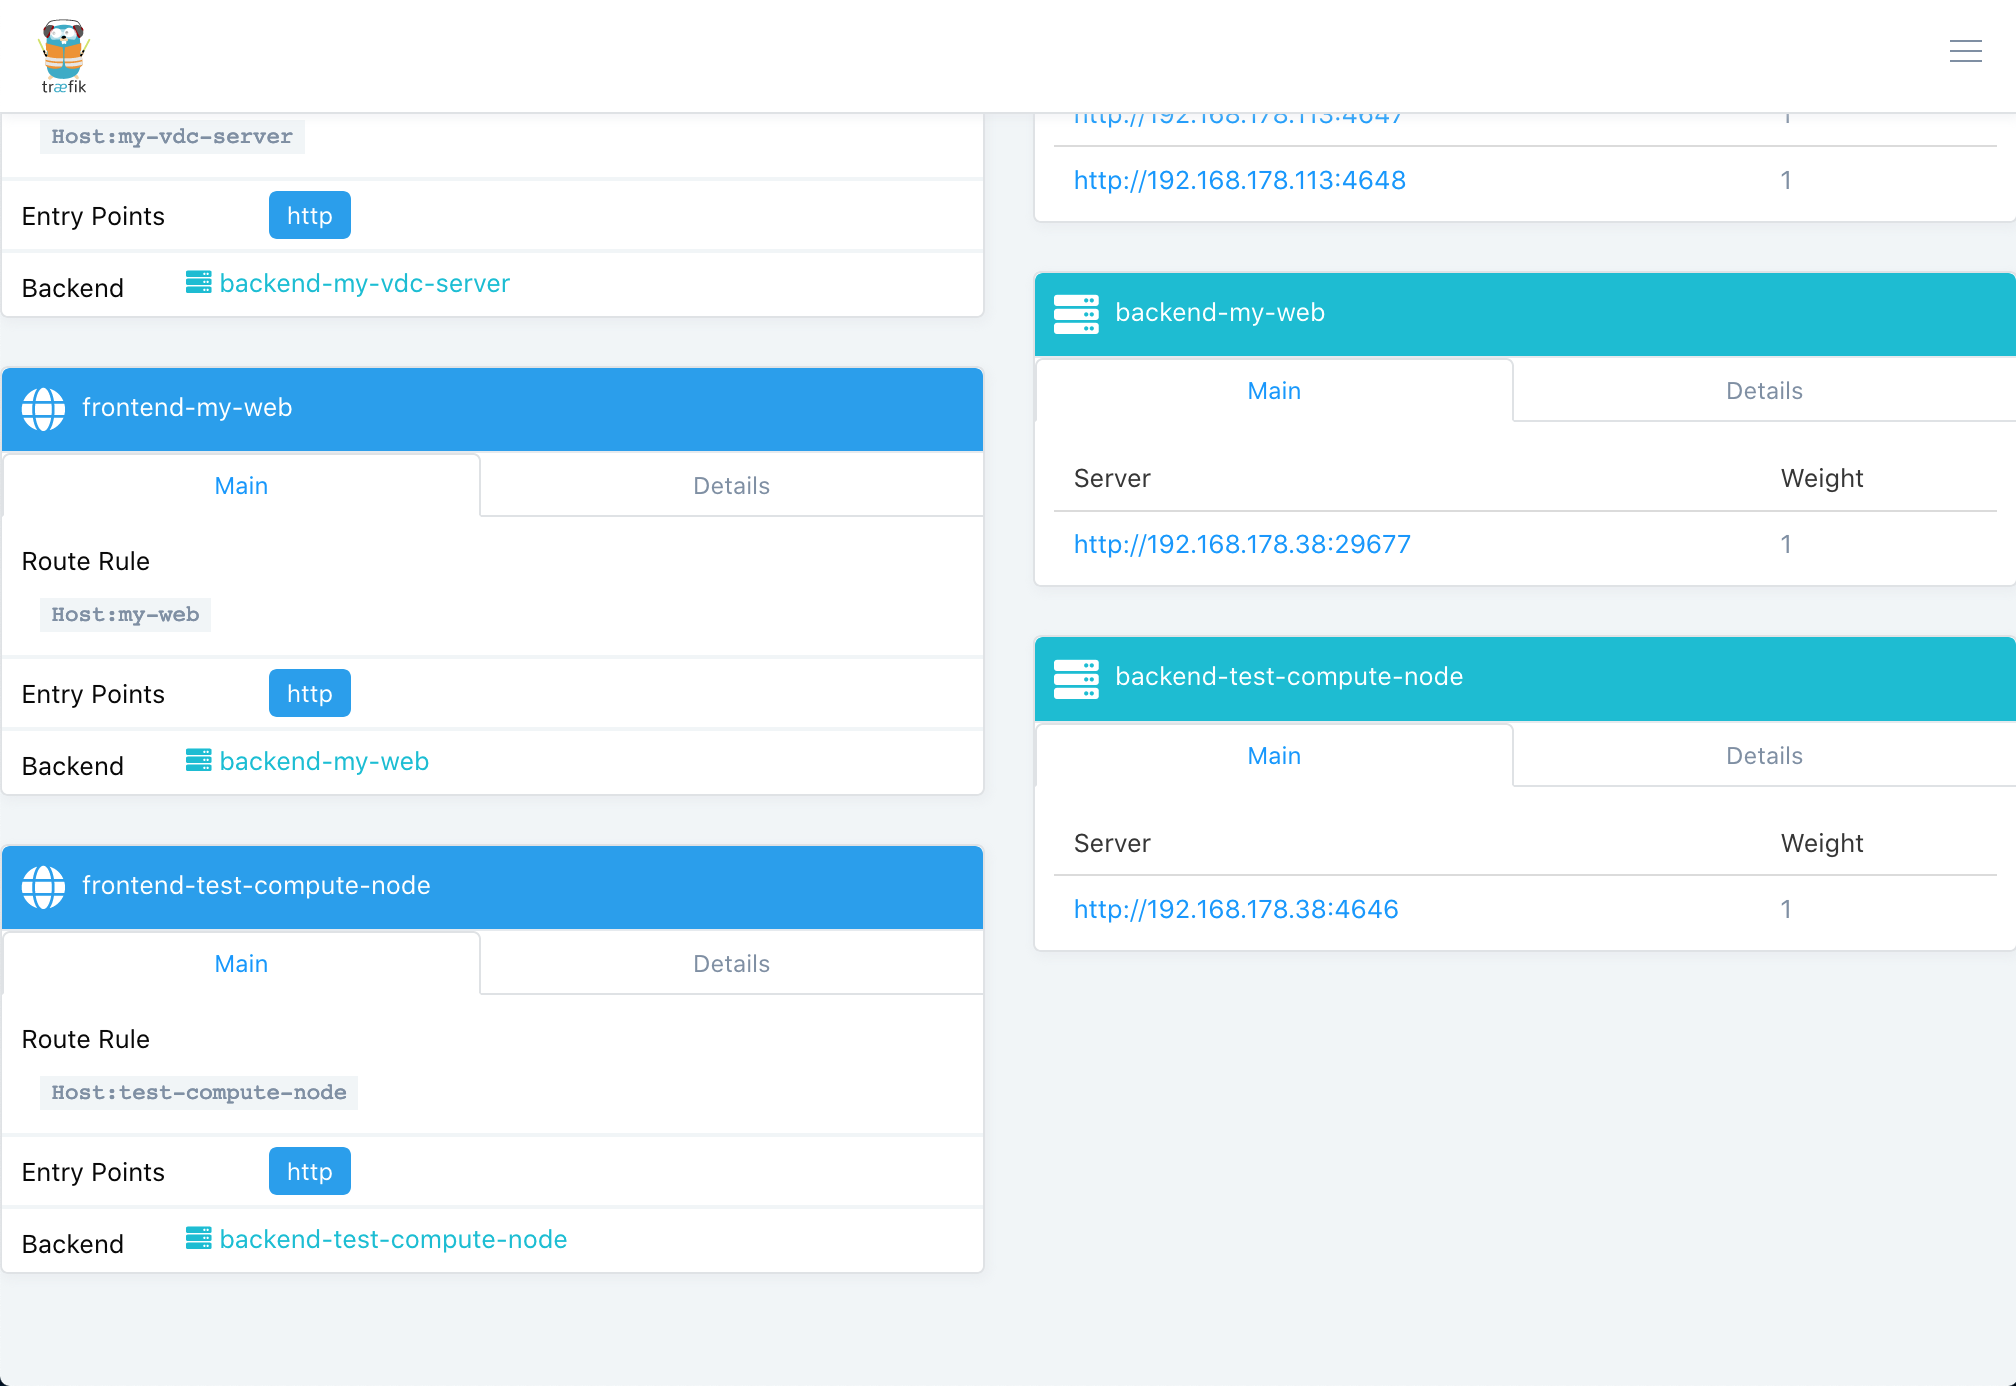
Version 1: Complete Job With Mounting S3 Bucket
The complete job description which copies your own nginx config file into the jail and mounts an outside web file directory located on the minio storage bucket at /mnt looks like this:
job "web" {
  datacenters = ["my-vdc"]
  type        = "service"

  group "group1" {
    count = 1

    task "www1" {
      driver = "pot"

      service {
        tags = ["nginx", "www"]
        name = "my-web"
        port = "http"

         check {
            type     = "tcp"
            name     = "tcp"
            interval = "60s"
            timeout  = "30s"
          }
      }

      config {
        image = "https://potluck.honeyguide.net/nginx-nomad"
        pot = "nginx-nomad-amd64-12_1"
        tag = "1.1.2"
        command = "nginx"
        args = ["-g","'daemon off;'"]

        copy = [
          "/mnt/s3bucket/web/nginx.conf:/usr/local/etc/nginx/nginx.conf",
        ]
        mount = [
          "/mnt/s3bucket/web/www:/mnt"
        ]
        port_map = {
          http = "80"
        }
      }

      resources {
        cpu = 200
        memory = 64

        network {
          mbits = 10
          port "http" {}
        }
      }
    }
  }
}
The nginx.conf file which you should save in /mnt/s3bucket/web/nginx.conf (the directory referenced in the job description above):
worker_processes  1;

events {
    worker_connections  1024;
}


http {
    include       mime.types;
    default_type  application/octet-stream;

    access_log /dev/stdout combined;

    sendfile        on;
    keepalive_timeout  65;

    server {
        listen       80;
        server_name  _;

        location / {
            root   /mnt;
            index  index.html index.htm;
        }

        error_page  404              /404.html;

        error_page   500 502 503 504  /50x.html;
        location = /50x.html {
            root   /usr/local/www/nginx;
        }

    }

}
error_log /dev/stderr;
Note that the log is written to stdout and stderr.
I’ll leave the challenge of creating a test index.html file in /mnt/s3bucket/web/www that will then be delivered by nginxup to you…
Version 2: Simple Example Without Any Outside Storage
The job description of the simple example looks nearly like above, but it uses the default nginx config file and site coming with the Potluck image. That means the following parts of the job description above are removed:
...
       copy = [
         "/mnt/s3bucket/web/nginx.conf:/usr/local/etc/nginx/nginx.conf",
       ]
       mount = [
         "/mnt/s3bucket/web/www:/mnt"
       ]
...
So the complete job description that you can copy and paste into the nomad dashboard looks like this:
job "web" {
  datacenters = ["my-vdc"]
  type        = "service"

  group "group1" {
    count = 1

    task "www1" {
      driver = "pot"

      service {
        tags = ["nginx", "www"]
        name = "my-web"
        port = "http"

         check {
            type     = "tcp"
            name     = "tcp"
            interval = "60s"
            timeout  = "30s"
          }
      }

      config {
        image = "https://potluck.honeyguide.net/nginx-nomad"
        pot = "nginx-nomad-amd64-12_1"
        tag = "1.1.2"
        command = "nginx"
        args = ["-g","'daemon off;'"]

        port_map = {
          http = "80"
        }
      }

      resources {
        cpu = 200
        memory = 64

        network {
          mbits = 10
          port "http" {}
        }
      }
    }
  }
}
Accessing The Website
No matter which example you use, as soon as this service is started, you can access it with a host: my-web header (i.e. the name field from the job description) via traefik at http://10.10.10.14:8080/.
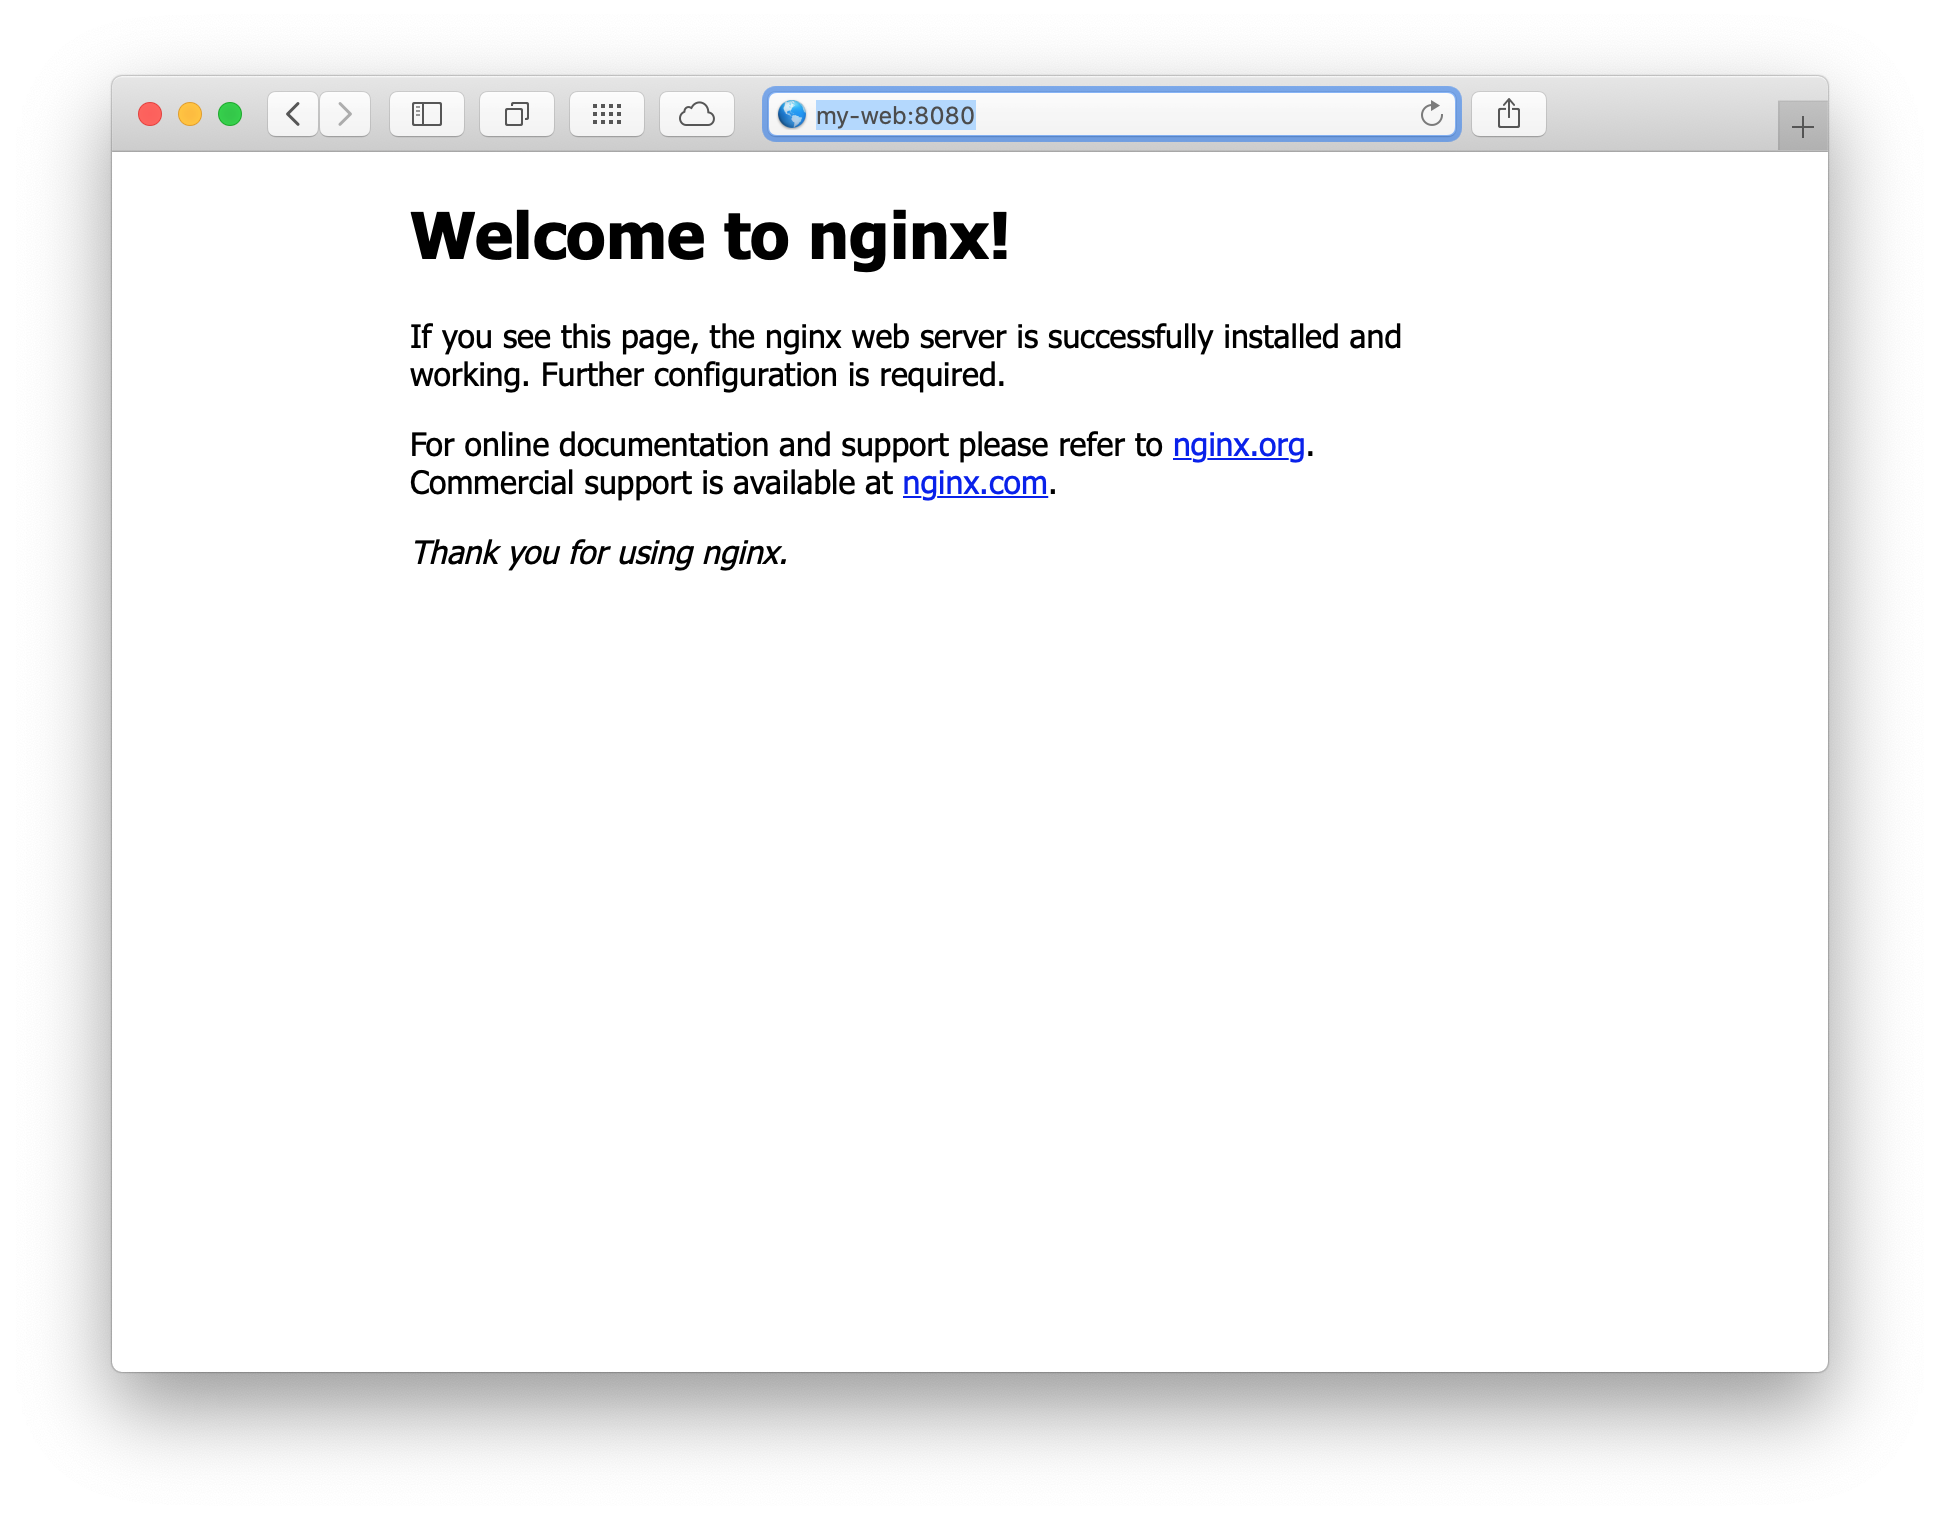
This is the same way e.g. apache identifies vhosts, so you could add “my-web” as hostname together with the IP to your /etc/hosts file on your client and then open http://my-web:8080/ in the browser.
Example /private/etc/hosts on macOS:
##
# Host Database
#
# localhost is used to configure the loopback interface
# when the system is booting.  Do not change this entry.
##
127.0.0.1       localhost
255.255.255.255 broadcasthost
::1             localhost

10.10.10.14     my-web
Assuming that you use the simple example with the default web site, the results will look like this:
Alternatively, instead of editing your hosts file, you can use curl with -H to set the host header:
$ curl -H "host: my-web" http://10.10.10.14:8080
<!DOCTYPE html>
<html>
<head>
<title>Welcome to nginx!</title>
<style>
    body {
        width: 35em;
        margin: 0 auto;
        font-family: Tahoma, Verdana, Arial, sans-serif;
    }
</style>
</head>
<body>
<h1>Welcome to nginx!</h1>
<p>If you see this page, the nginx web server is successfully installed and
working. Further configuration is required.</p>

<p>For online documentation and support please refer to
<a href="http://nginx.org/">nginx.org</a>.<br/>
Commercial support is available at
<a href="http://nginx.com/">nginx.com</a>.</p>

<p><em>Thank you for using nginx.</em></p>
</body>
</html>
Git Example Service (DNS Lookup)
The services being run do not need to be web services accessed via traefik. You can also run any other server which can then be looked up by using the Consul DNS interface.
To see how this can work and assuming you have set up the S3 bucket, you can run the Potluck git image by copying and pasting this git job description into nomad:
job "git" {
  datacenters = ["my-vdc"]
  type        = "service"

  group "group1" {
    count = 1

    task "git1" {
      driver = "pot"

      service {
        tags = ["git"]
        name = "git"
        port = "ssh"

         check {
            type     = "tcp"
            name     = "tcp"
            interval = "60s"
            timeout  = "30s"
          }
      }

      config {
        image = "https://potluck.honeyguide.net/git-nomad"
        pot = "git-nomad-amd64-12_1"
        tag = "1.0"
        command = "/usr/local/bin/cook"
        args = [""]

        mount = [
          "/mnt/s3bucket/git:/var/db/git"
        ]
        port_map = {
          ssh = "22"
        }
      }

      resources {
        cpu = 200
        memory = 64

        network {
          mbits = 10
          port "ssh" {}
        }
      }
    }
  }
}
If you don’t want to mount any outside storage for now, simply remove this section from the job above:
...
       mount = [
         "/mnt/s3bucket/git:/var/db/git"
       ]
...
This image exposes the user named git that can be accessed via ssh and private/public keys.
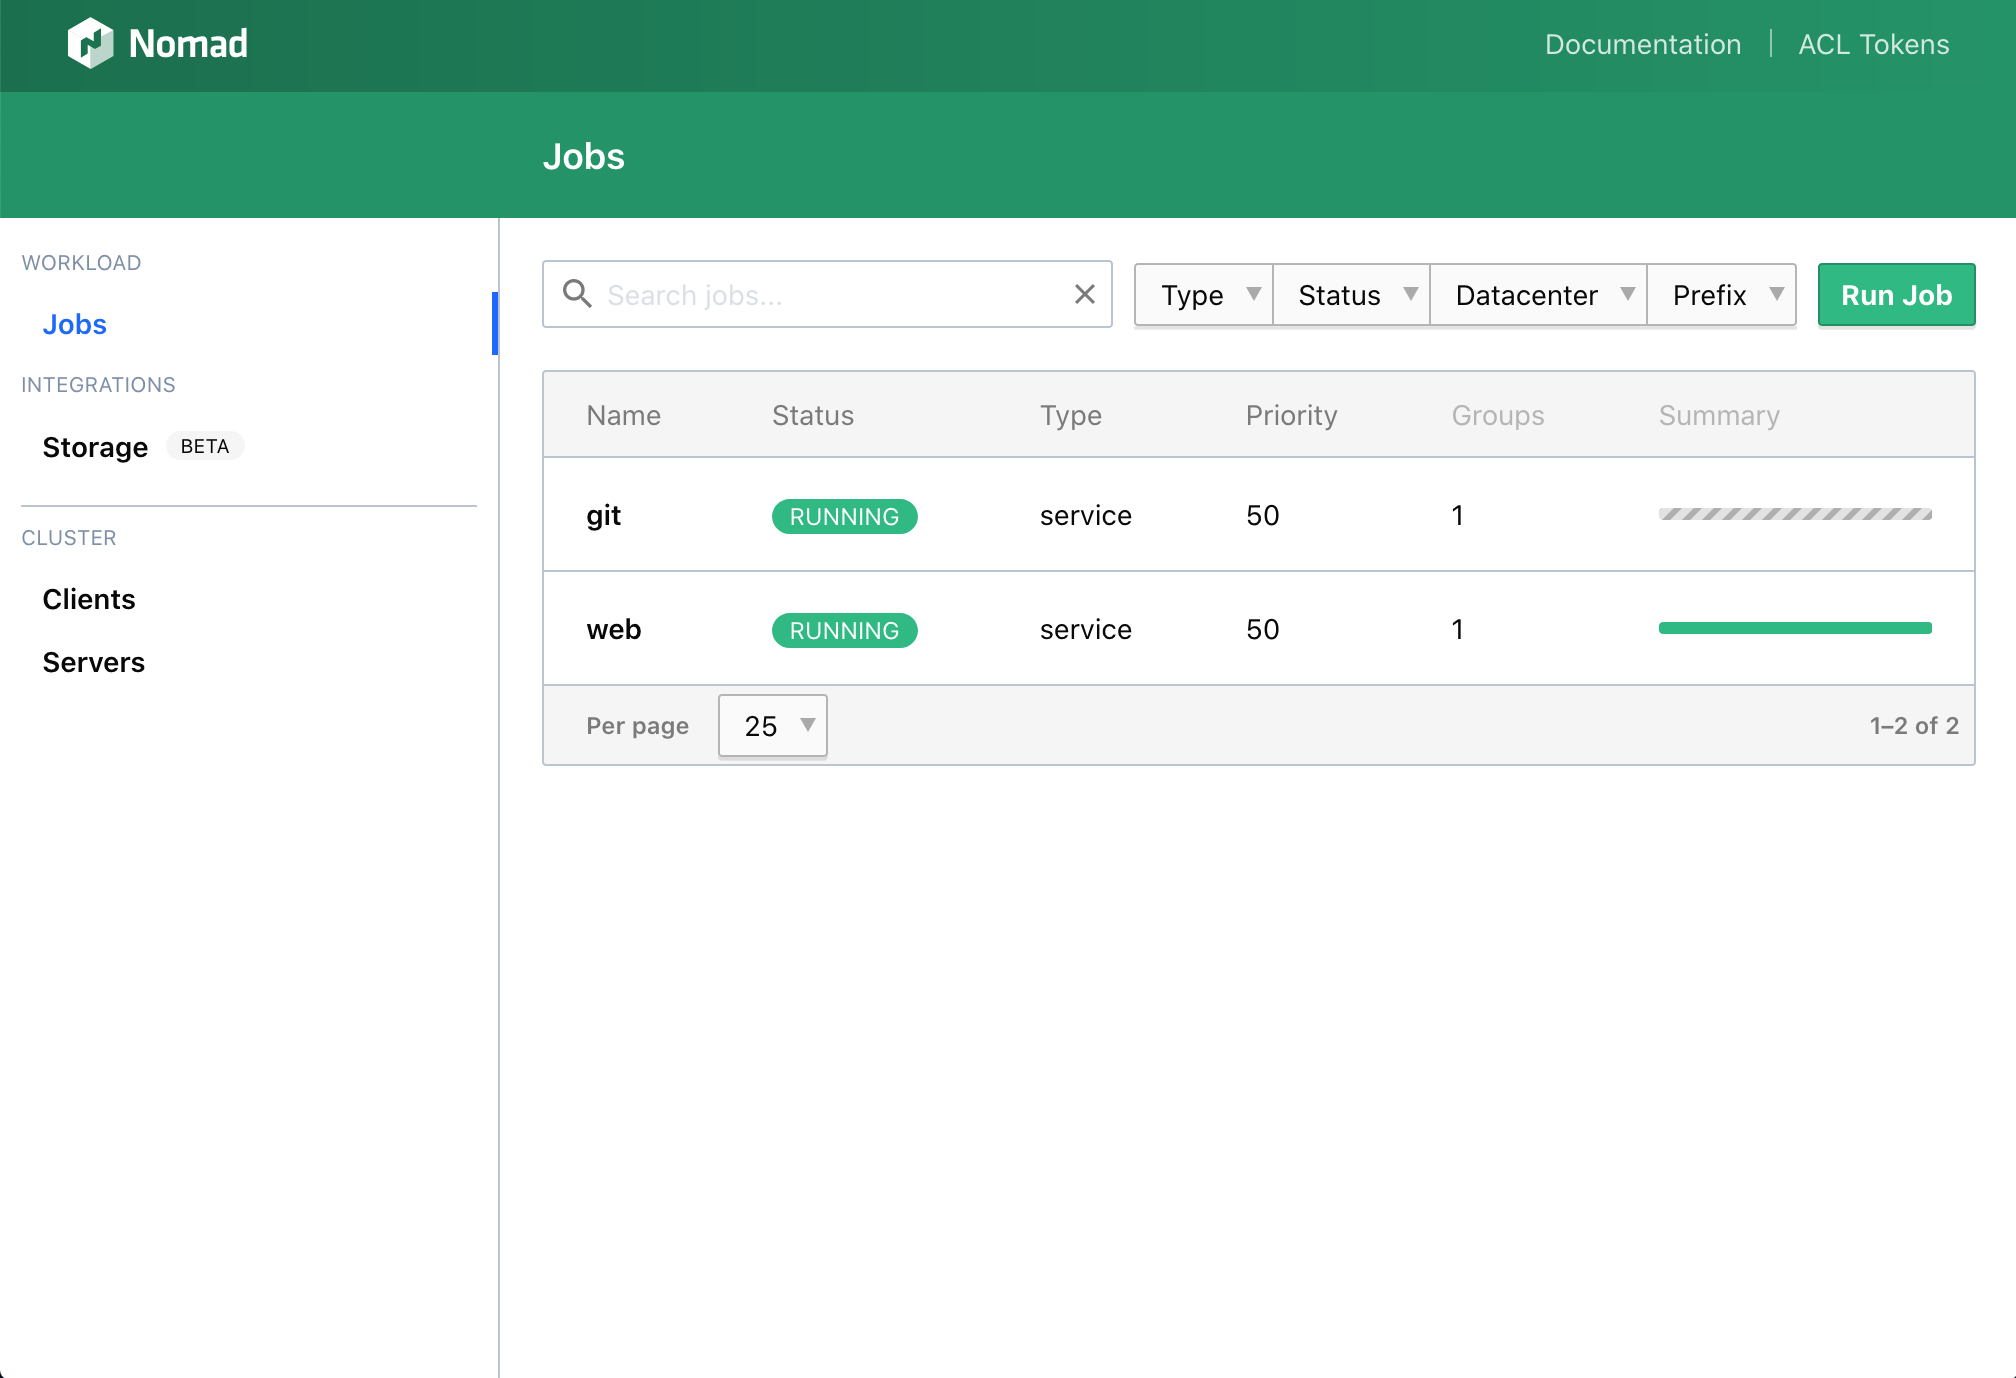
When you don’t mount outside storage, providing a public key for full access is not straightforward, but you can nonetheless test the ssh connection attempt described below.
Again, nomad will choose a host to run the job on, assign an available port for the ssh service and register the service with the tags from the description with consul:
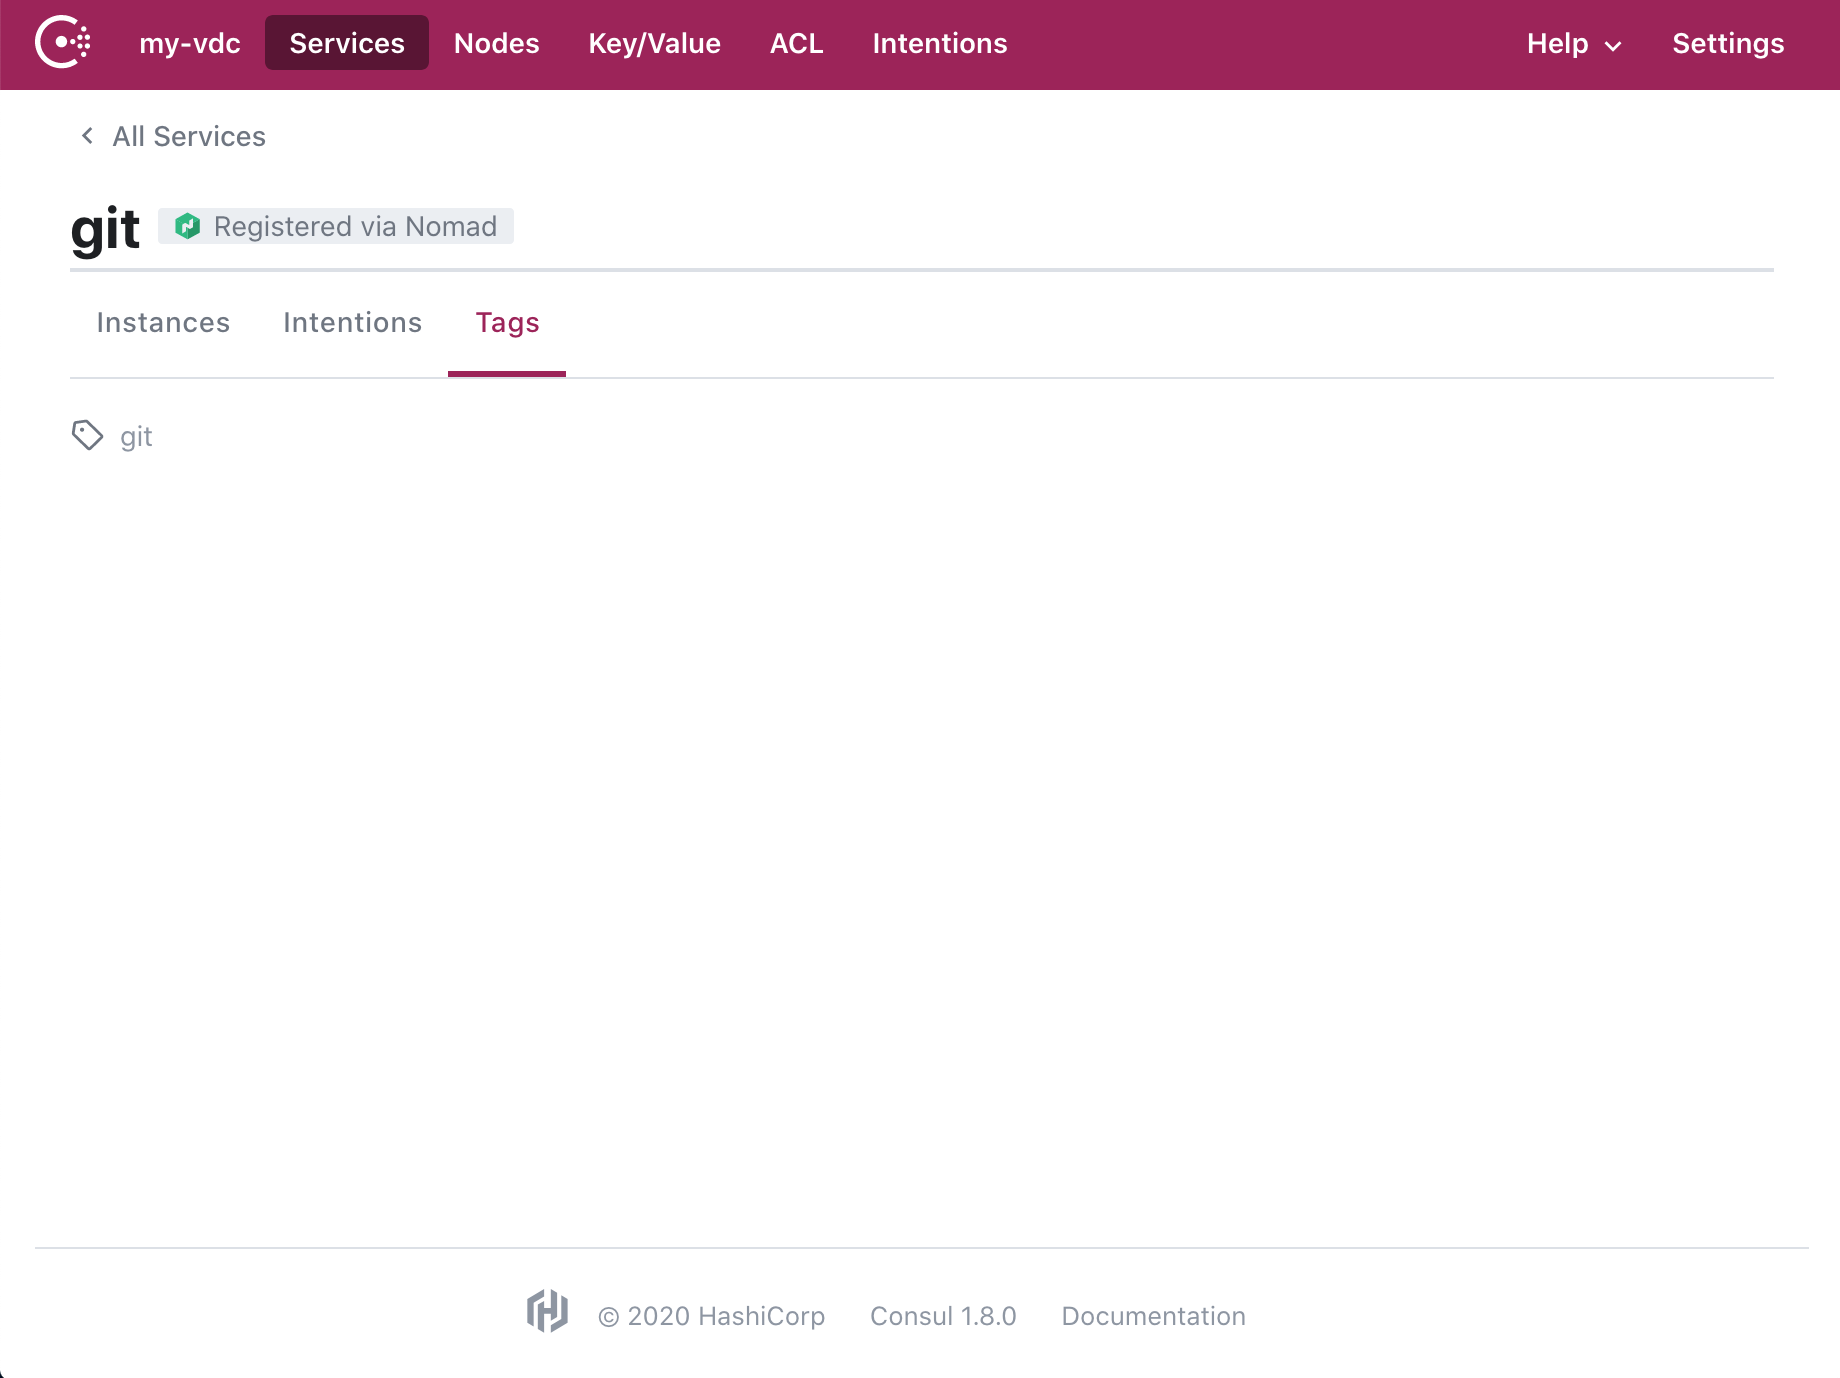
To find the ssh service, you can simply use dig and query _<tag>._<service>.service.consul:
$ dig @10.10.10.12 -p 8600 _git._git.service.consul SRV

; <<>> DiG 9.10.6 <<>> @10.10.10.12 -p 8600 _git._git.service.consul SRV
; (1 server found)
;; global options: +cmd
;; Got answer:
;; ->>HEADER<<- opcode: QUERY, status: NOERROR, id: 41096
;; flags: qr aa rd; QUERY: 1, ANSWER: 1, AUTHORITY: 0, ADDITIONAL: 3
;; WARNING: recursion requested but not available

;; OPT PSEUDOSECTION:
; EDNS: version: 0, flags:; udp: 4096
;; QUESTION SECTION:
;_git._git.service.consul.	IN	SRV

;; ANSWER SECTION:
_git._git.service.consul. 0	IN	SRV	1 1 30733 c0a8b226.addr.my-vdc.consul.

;; ADDITIONAL SECTION:
c0a8b226.addr.my-vdc.consul. 0	IN	A	10.10.10.11
test.node.my-vdc.consul. 0	IN	TXT	"consul-network-segment="

;; Query time: 162 msec
;; SERVER: 10.10.10.12#8600(10.10.10.12)
;; WHEN: Fri Jul 31 17:24:09 CEST 2020
;; MSG SIZE  rcvd: 162
You can see in the ANSWER SECTION that the port having been assigned is 30733 and in the ADDITIONAL SECTION that the IP address is 10.10.10.11.
With this information, you can test the connection:
$ ssh git@10.10.10.11 -p 30733
The authenticity of host '[10.10.10.11]:30733 ([10.10.10.11]:30733)' can't be established.
ECDSA key fingerprint is SHA256:g6BNIaiq1JrjIF6yPCYItMEzQsbGBk7raTztmppYuqE.
Are you sure you want to continue connecting (yes/no/[fingerprint])? yes
Warning: Permanently added '[10.10.10.11]:30733' (ECDSA) to the list of known hosts.
Password for git@gitgit1_d306ad66-30f2-d563-f628-f29a77c50377.test: